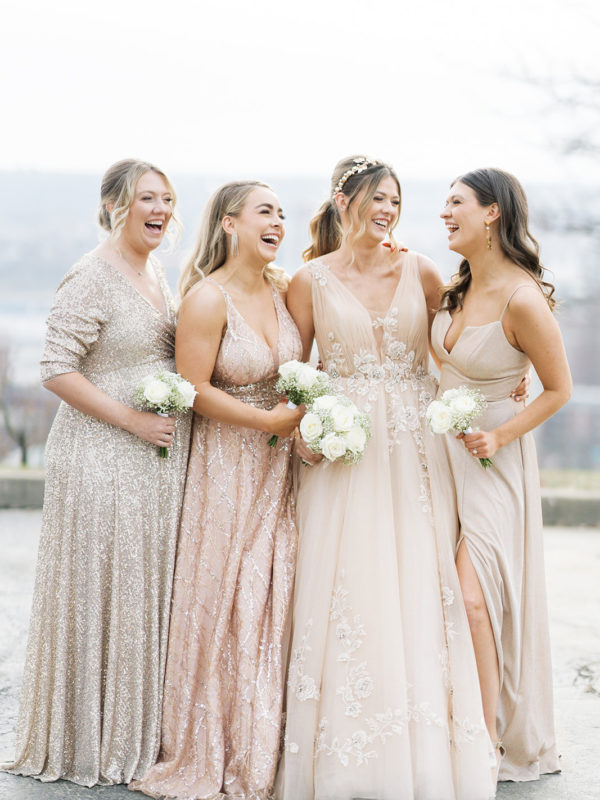
How To Make A Wedding Veil
Creating a Customized Veil is Simple and Less Expensive
A great way to save money on your wedding is to make a wedding veil instead of purchasing it from a bridal shop. While store-bought veils can be costly, creating a customized veil is simple and much less expensive.
How To Make A Wedding Veil
- Choose the length of your veil: A traditional wedding veil that falls to the waist is generally about 32 inches long. Add or subtract inches if you want a short or long wedding veil. You can make anything from a simple shoulder length veil to an elaborate cathedral length veil using the same basic process.
- Select the right tulle: You can find different colors and types of tulle at most local fabric stores. Feel the tulle for softness and avoid varieties that are extremely stiff. Traditionally, brides will make a wedding veil that is the same color as their wedding dress so you may want to bring a fabric swatch of your gown to the fabric store with you.
- Cut one end of the tulle: Lay the tulle out on a flat surface and fold it in half from top to bottom. Place heavy objects on the tulle to keep it flat while you cut. Cut along the two unfolded ends to create a curved shape.
- Sew the fold: About four inches from the folded edge, run a simple over and under gathering stitch across the width of the veil. Once you've stitched across the veil, pulling the string will gather the veil. Tie off the string to keep the gathering in place.
- Connect the veil to a headpiece: You can use a comb, headband, tiara or any other type of headpiece. Attach the gathered edge of the veil to the headpiece using fabric clue.
- Customize the veil: You can customize your veil further by adding trim, pearls, sequins or other accoutrement. Fabric glue can easily be used to add just about anything to your veil.
Read more: